


How to Add 4 Refills to Your Traveler’s Notebook (No Connecting Band Needed)
Good news: with a little time, some tools, and a few knots, you can comfortably insert up to 4 refills using a repair string in your Traveler’s Notebook—keeping your refills tidy and your setup feeling just right.
Let’s walk through it.
What You’ll Need:
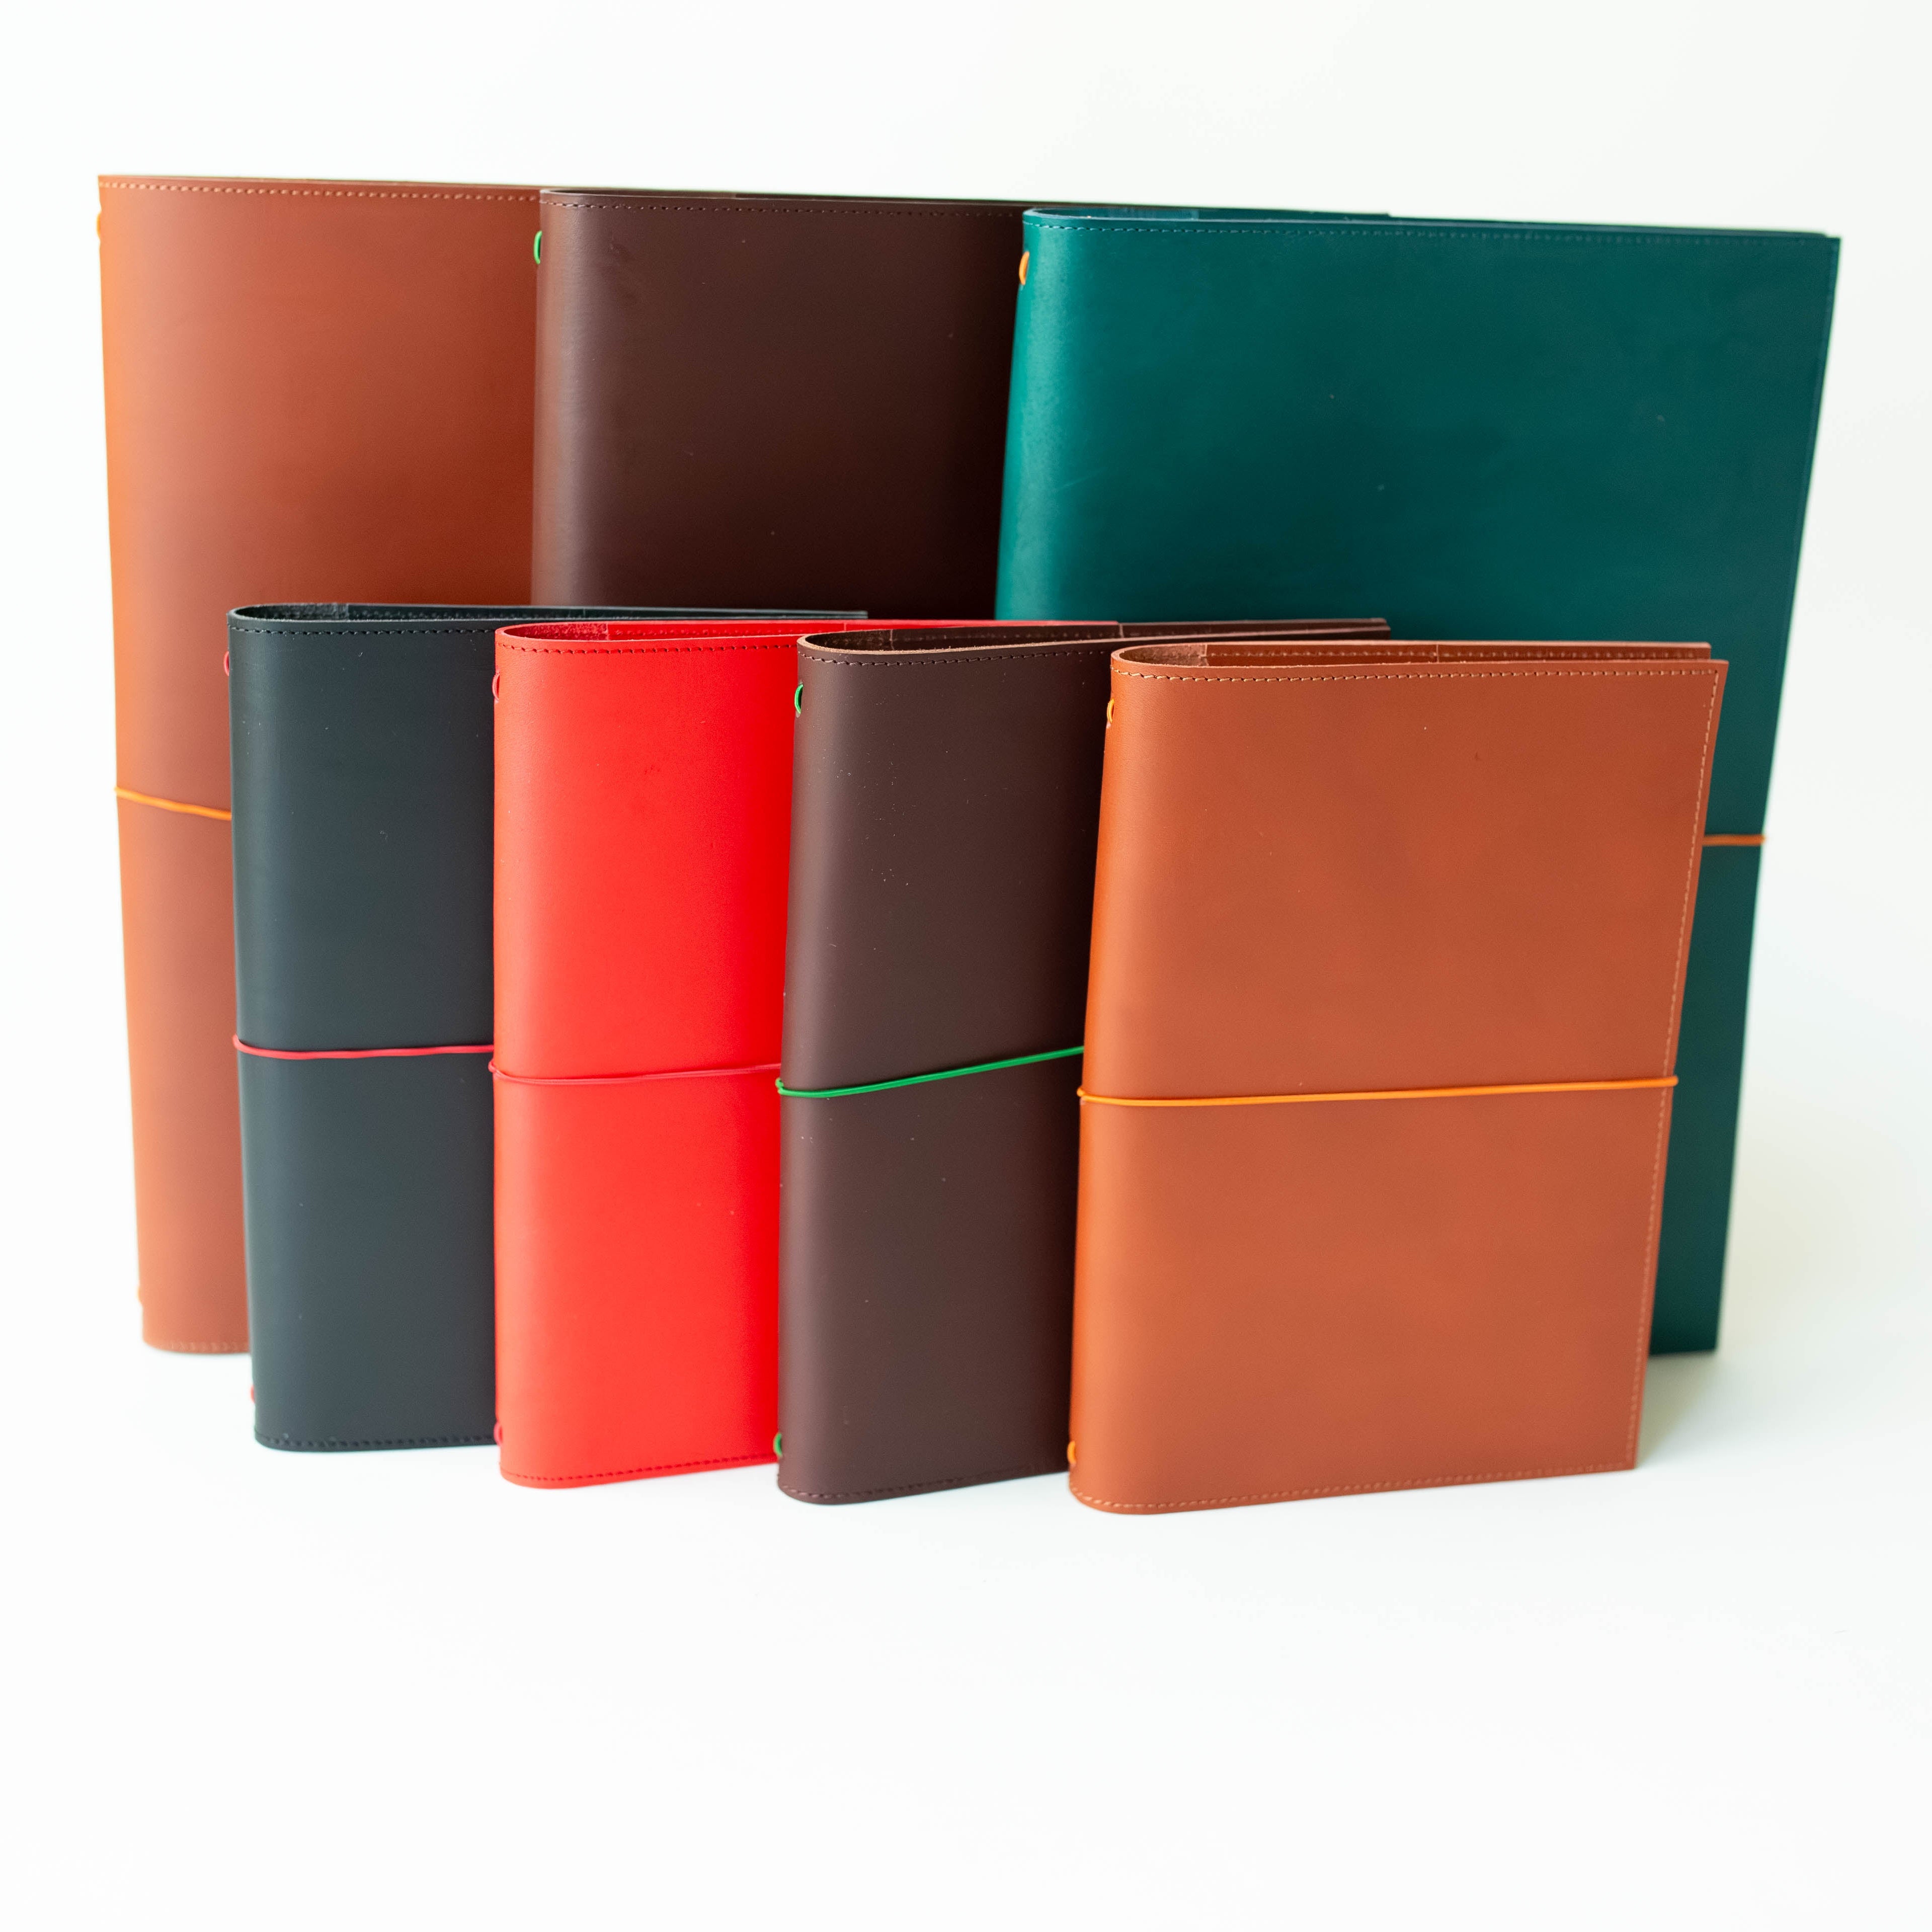
Traveler’s Notebook Cover
-
Traveler's Notebook Cover (Olive, Brown, Camel, Blue, Black) - Regular Size
-
Traveler's Notebook Cover (Olive, Brown, Camel, Blue, Black) - Passport Size
Up to 4 Refills of Your Choice
Shop Traveler’s Notebook Refills
A Repair Kit
A pair of scissors
A pair of tweezers
How to Do It (Step-by-Step)
Step 1: Remove the Original Elastic
Undo the knot of the original elastic and gently pull it out of the cover. Set it aside to use in other repair situations.
Step 2: Thread in a Longer Repair String
Take your new string from the repair kit and insert it from the outside of the bottom hole to the inside of your cover.
Step 3: Bring It to the Top
Pull the string up along the spine and insert it through the lower top hole (inside to outside). And this is your first vertical band for the refills.
Step 4: Reinstall the Clasp
Grab your metal clasp. Thread the string through the 2 small holes, making sure it sits flat against the cover.
Step 5: Measure Your String
Pull the remaining string from the bottom to the top. You want most of the string to sit along the top of your cover, and just enough slack left at the bottom to reach the top and do a knot after.
Step 6: 2nd and 3rd Band
Pull the remaining string from top to bottom again (inside the notebook cover) - and this is your 2nd band. Then, repeat Step 2 - 4, just like you did before. You’ll now have 3 vertical bands.
Step 7: The Last Band
Pull the bottom string to the top, congrats, now you have 4 vertical bands!
Step 8: Finish With the Clasp
Thread the remaining string ends into the clasp’s buttonhole (top string) and upper hole (bottom string). Leave enough slack so each string in the middle has a little give—enough to comfortably fit a refill.
Step 9: Tie and Trim
Align the clasp with the top of your Traveler’s Notebook and tie a double knot to secure. Use your scissors to trim the extra ends.
Step 10: Tuck the Ends
With your tweezers, gently tuck the loose ends into the clasp or spine so they sit neatly out of the way.
Step 11: Add Your Refills
Now the fun part! Start inserting your refills:
-
Use the inner strings first, working your way out.
-
You can mix and match - grid, weekly planner, or plain pages.
-
Enjoy the satisfying feeling of everything sitting just right.
Ready to try it?
Shop Traveler’s Notebook Covers and Refills
